
How To Make A Dried Citrus Garland

Wondering how to make a dried citrus garland? It’s super easy!! Let me show you how…

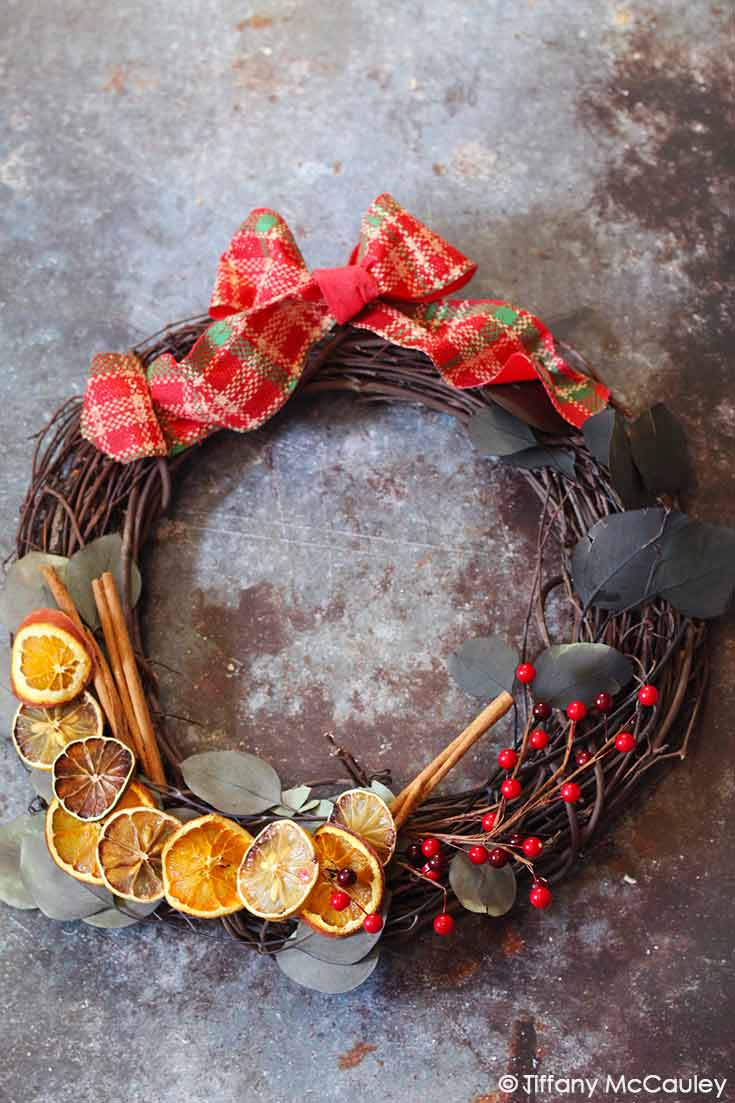
Whatever your home style is, incorporating natural elements adds a lovely touch to your holiday decor.
A simple Citrus and Bay Leaf Swag looks great on a mantle, looped over a window or doorway, on the Christmas Tree, or as an accent in your kitchen. You can make yours as long or as short as you like to add a natural touch to your home for the holidays, refresh the smell with clove, citrus, or cinnamon essential oils and reuse it year after year!
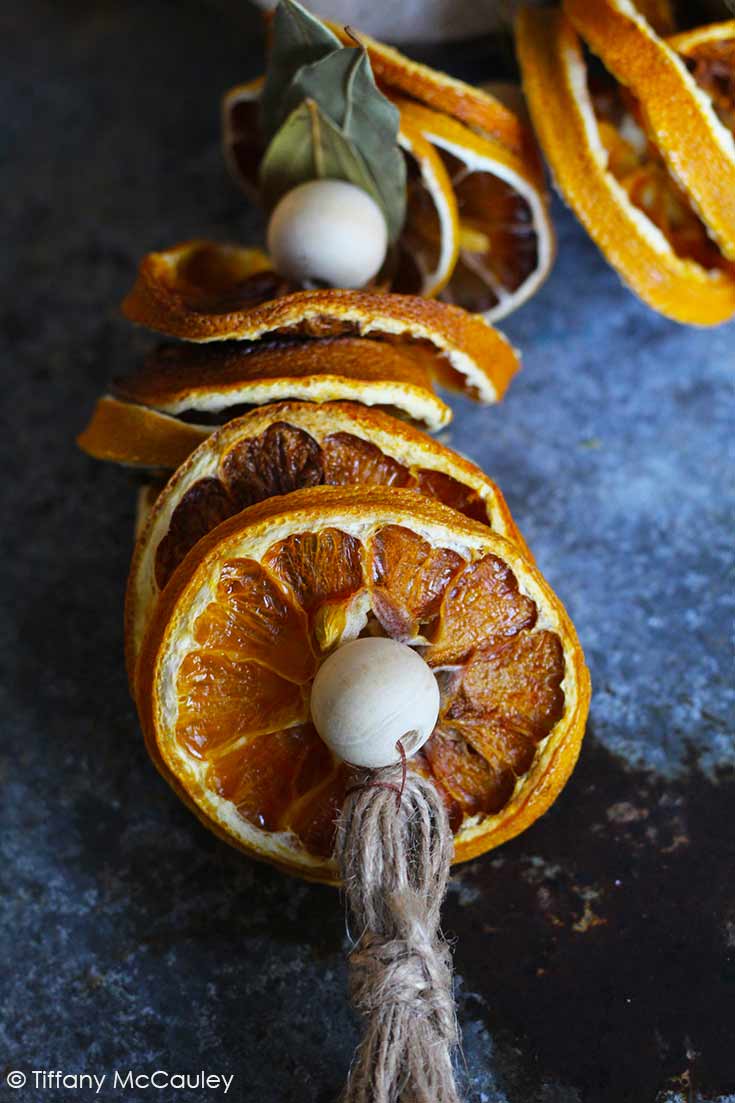
The fun part about garlands is that no two are every exactly alike! You can intertwine as many different types of additions as you like. Try lemons, limes, grapefruits and all types of craft store leaves in various shapes, sizes and colors. And be sure to check your local dollar store for some supplies! They often have things you can use in crafting for pennies compared to some craft stores. It pays to look!
SUBSCRIBE:
Remember to subscribe to my free, newsletter to receive all my latest projects and blog posts in your inbox! Click here to sign up!

MORE PROJECTS:

HOW TO MAKE A DRIED CITRUS GARLAND
Holiday Citrus Garland
Materials
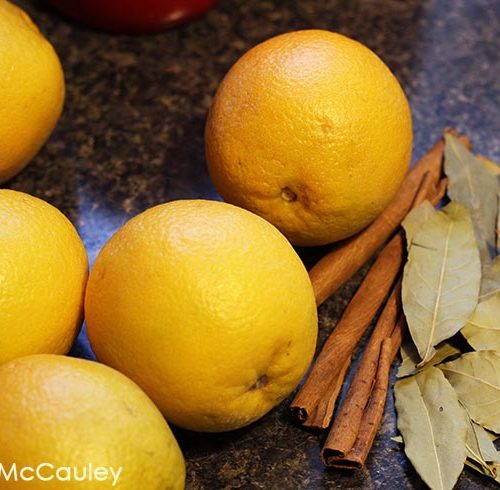
- oranges
- dried bay leaves
- large needle
- thread
- unfinished wooden beads
- twine
Instructions
- Preheat oven to 180-200℉. and cut oranges into ¼” slices.
- You can either lay your orange slices right on your oven rack with a pan underneath to catch the drips or if you have a large pan with a rack you can lay them out there.

- Place in the oven and crack the door by slipping a wooden spoon in the door, this allows moisture to escape. Turn at least once during drying, this process may take anywhere from 4-6 hours and if you are making a large garland you will need to do several batches. This is a great project for chilly day where you are stuck indoors doing other things!Once completely dried, remove oranges from oven to cool.

- Make 2 tassels by wrapping twine around your hand 15-20 times depending on how large you want it to be.

- Next, wrap another piece of twine near the top of one end, secure tight with a knot and trim off the excess.Cut the loops on the opposite end and your tassel is ready, repeat the steps for a second one.

- Thread a needle, upholstery or other large needle makes this an easy job. Double the thread the way you would for hand sewing, making it the length you would like your garland.Sew thread through one of your tassels and being threading.
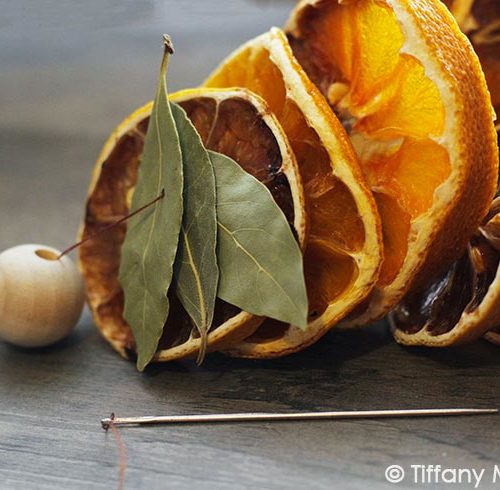
- Thread each item onto your string. You can choose to make each section as thick as you like, I used 3 orange slices, 3 bay leaves, and a wooden bead. Repeat until the garland is full.

- Sew the other tassel to the other end and the swag is ready to hang.


Thank you!!1
Moreshead5931 – You’re welcome!