Elevated Dog Feeder (DIY)

An elevated dog feeder is wonderful for larger dogs!

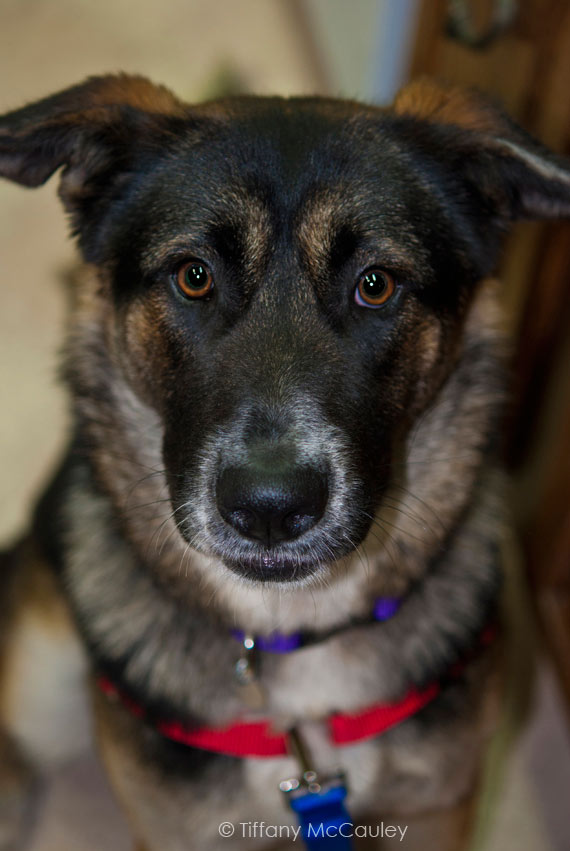
We are slowly collecting animals around here, and this is our newest addition.
Shasta is a big girl. She doesn’t weigh as much as some big dogs, but she is tall. When she stands on her hind legs, she is about 5 1/2 feet from her toes to her floppy ears. Not a small dog by any means, despite her 57 pounds. She definitely has that slender, German Shepard build.
Every time I feed Shasta, she immediately buries her nose in her food and inevitably ends up pushing the bowl all over the kitchen floor before she has finished eating. The poor thing literally has to “chase” her dinner all over the kitchen! For a while, I stood there with the bowl pushing against my feet, but that got old pretty quickly.
After our move from Sonoma County to my Mom’s house, I had a shelf that I didn’t know what to do with. A shelf made out of wood crates that had been nailed together.
One of the crates just happened to come loose in the move. So I grabbed it and made the following dog feeder for her. She’s been a very happy girl at dinner ever since, now that dinner actually stands still for her to eat it!
Want to make one of these?

ELEVATED DOG FEEDER
Here’s how to make it!

Using a wooden crate, secure a “shelf” in the middle if it does not already have one. This will give your bowls a little extra support as well as make them a bit more secure when you pick them up. Thankfully, mine already had one, so I was able to skip this step.

I then bought a couple of metal bowls from the local Safeway’s baking aisle. They were $5.69 each and have a diameter of 9 1/2 inches (including the lip).
Your bowls may be different in size. But as long as they allow room for a border of wood around them of about 2 inches, they should be fine.
Measure right across the middle and then subtract the width of the lip. This is the true diameter of the top end of your bowls.
So in my example here, my bowls (with the lips) measured 9 1/2 inches. The lip was 1/2 an inch. So I subtracted 1 inch (1/2 for each side of the bowl) from that measurement.
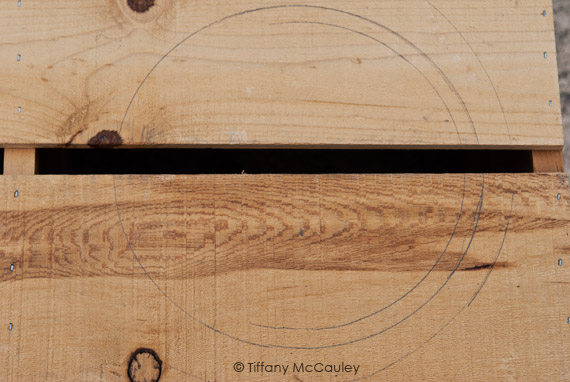
As you can see here, I haven’t used a pencil with a compass since grade school. It took me a couple of tries to get it right. Don’t judge.

Eventually, I got two, perfect 8 1/2 inch circles positioned directly in the middle on either side of that middle shelf we talked about in the beginning. Apparently, it helps with bowl placement as well!

This blade. This blade was a bit of a headache. The wood was soft and fairly thin, and the blade had some good-sized teeth on it. If I were to do this again, I’d choose a blade with smaller teeth. Something much more suited to cutting a soft, thin board. But after a trip to Home Depot where three different employees and one enthusiastic customer swore the blade I was buying would fit on my saw, I got home only to find that it did not fit on my saw. So I had to stick with the larger-toothed blade. <Sigh>
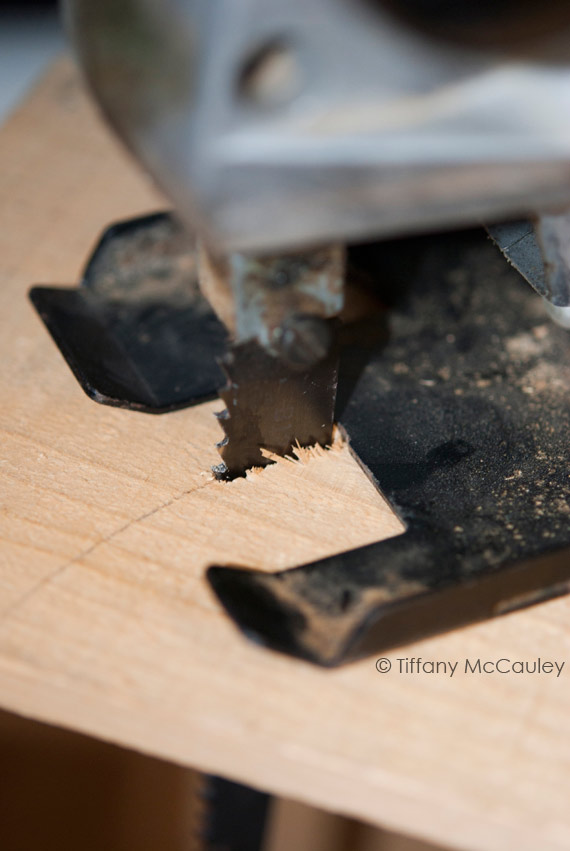
As you can see above, the blade left me with some ragged edges. But it was nothing a little bit of light, gentle sanding couldn’t handle.

Once the circles were cut out, I popped the bowls in and they fit perfectly! Then it was time for some decorations!

Grant it, I could have done this by hand. But I wanted my little guy to get in on this project, so I carved a stamp out of half a large potato and gave him some paint. He loved putting paw prints on the crate! Then I painted some water-resistant sealer on the whole box (not on the bowls!) so that when Shasta slobbers her water all over the place, it won’t damage the wood.
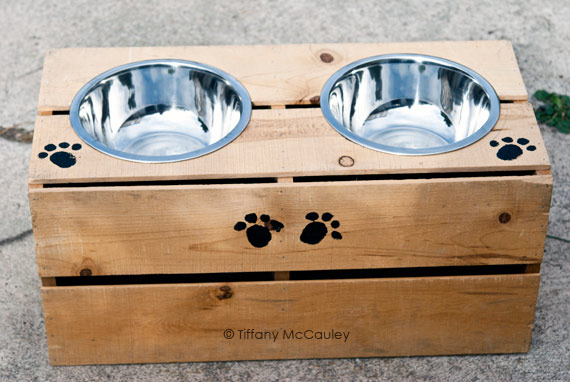
And this was the finished dog feeder! Super cute!