Polymer Clay Mushrooms

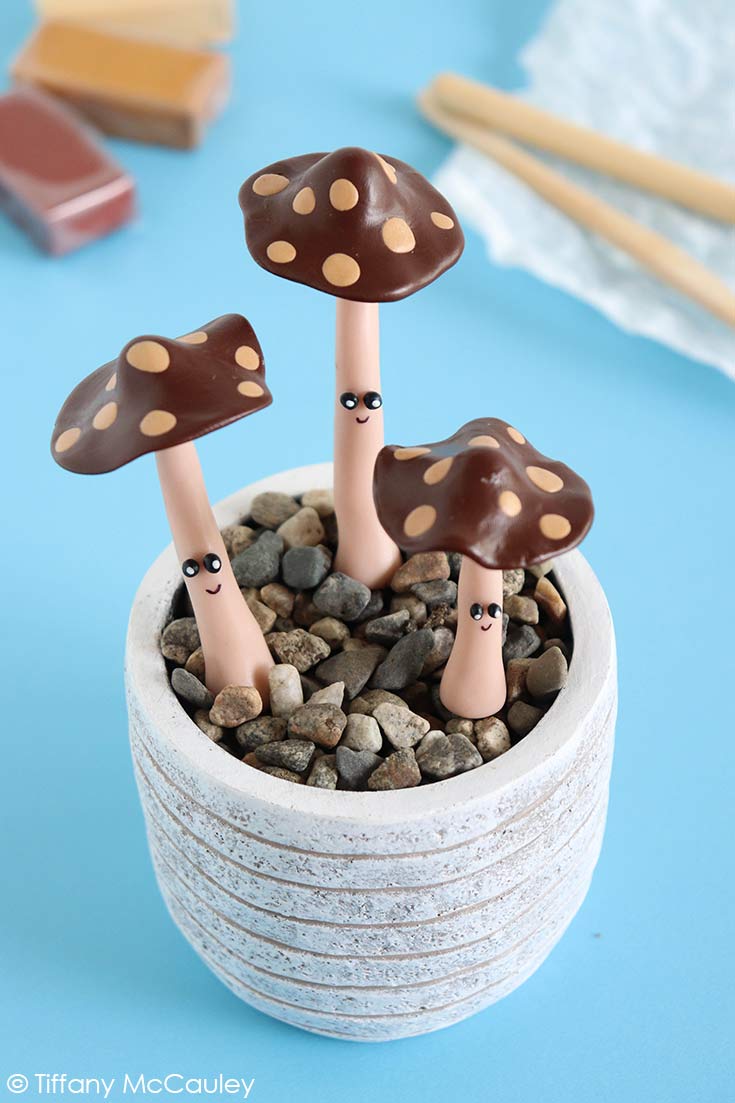
If polymer clay is your thing, then these adorable polymer clay mushrooms could be just what you need. They make the cutest gifts for a housewarming or the holidays!
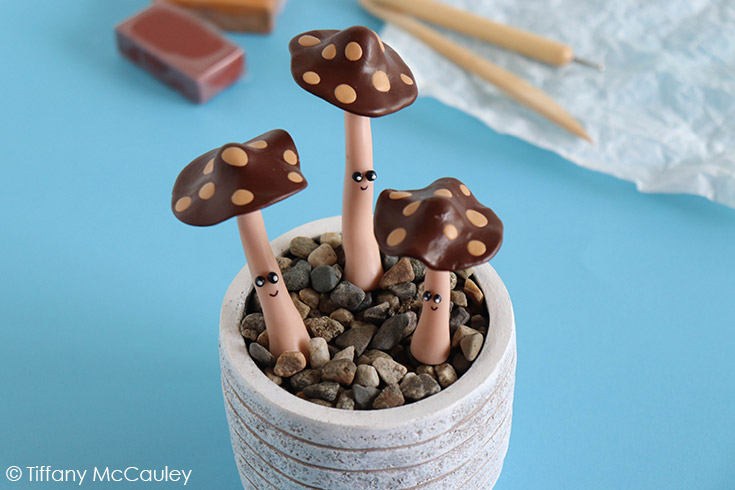
These were too cute not to share. Stick them into the soil of any plant pot, or make a display of them by giving all of them their own little pot. Either way, cuteness abounds!
5 Tips For Working With Polymer Clay
- Make sure your clay is a good quality clay. Cheaper varieties won’t work as well.
- To store opened clay, wrap it in plastic wrap first, and then store in an airtight container
- Clay sticks together easier if you score it first where it’s supposed to stick.
- Make sure you have a solid, flat work surface. Clear your space of clutter.
- Make sure you keep oven temperatures low, otherwise your clay may crack.
What You’ll need:
- medium rolling pin
- parchment paper
- baking sheet
- polymer clay
- clay cutting and piercing tools
- sharpie
- glue
- white paint
- mod podge
- paintbrush
How To Make Polymer Clay Mushrooms

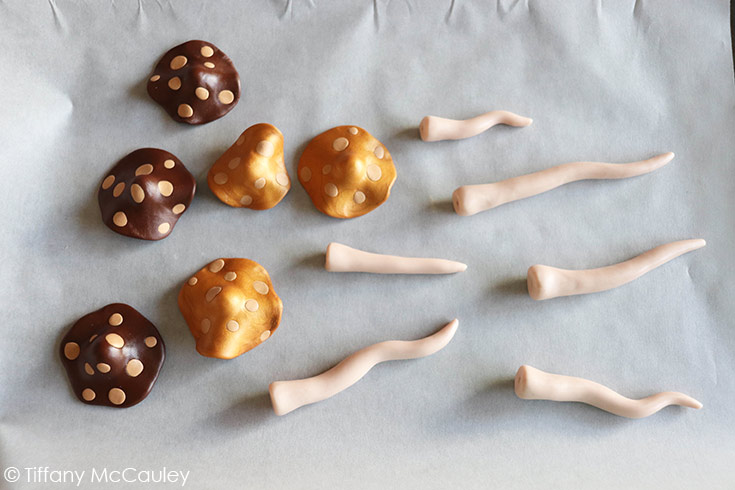
Do the same with the white clay, and form the balls into long sausage-like shapes that are tapered at one end.

To give them their quirky look, curve them a bit towards the top of the stem. Then, using a toothpick, poke a hole in the thicker bottoms.

Roll the brown clay into balls to about 1½ inches thick. Roll quite a few very small white balls to approximately a 1/4 inch thickness. These will be the dots on the mushroom caps. So they don’t have to be perfect. Just keep them small, then press them flat between your fingers.
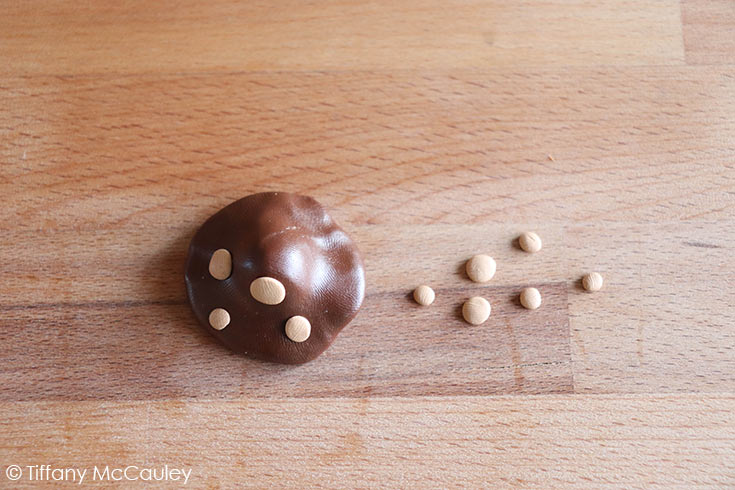
Roll the brown mushroom caps flat as well.
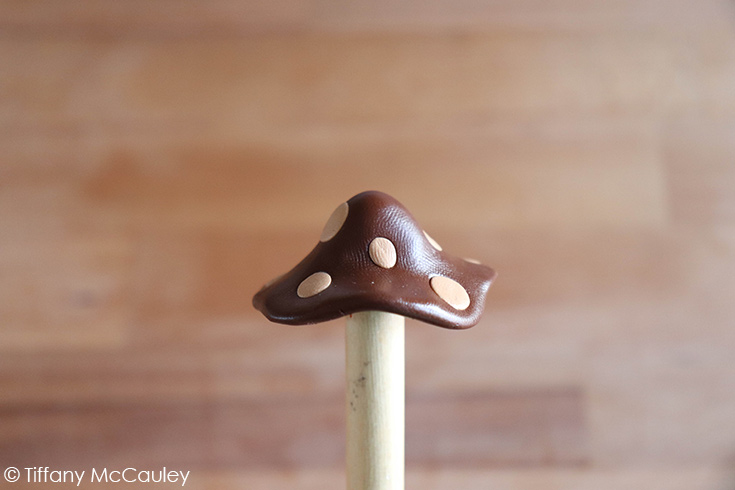
Press the flat circles into mushroom cap shapes using a forming tool. Then press on your dots. You can press them on while the cap is flat, if that’s easier. Either way works. Roll the black clay into tiny little balls for the eyes. These will be attached to the stems after baking.
Bake the clay on a parchment-lined baking pan to package directions. Each brand of clay can be slightly different, so follow those directions.
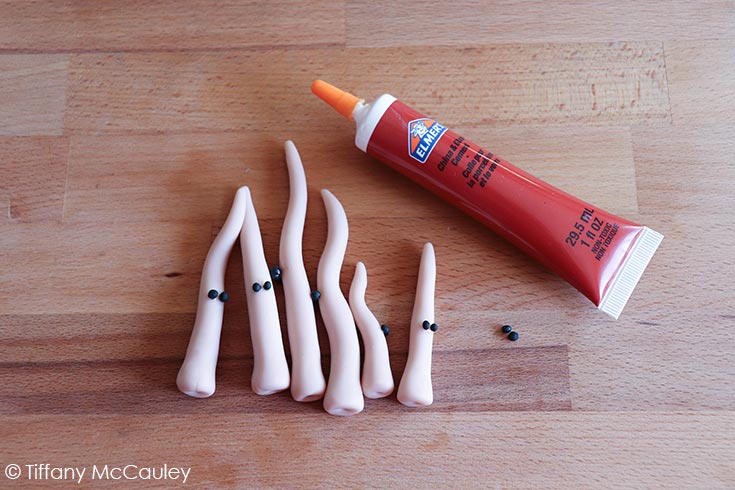
Once the clay has cooled from baking, you’ll want to glue the black eyeballs onto the stems.

Draw the mouths on your stem just under the eyeballs, using a black sharpie marker with a fine tip.
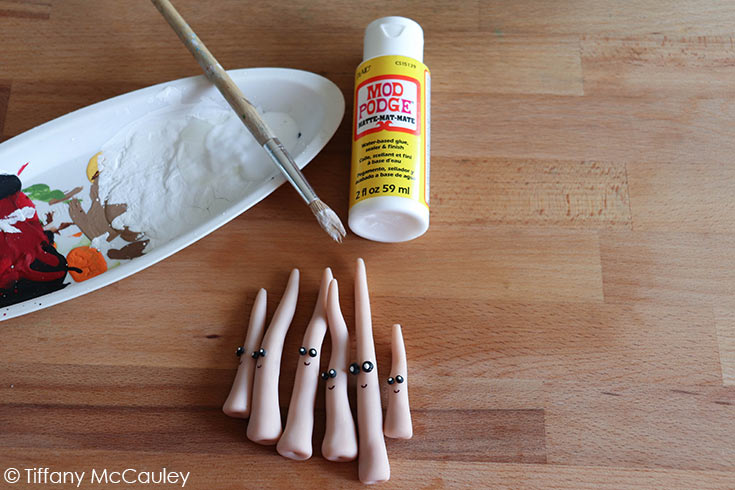
Using a toothpick dipped in white paint, put white dots on the black eyeballs. When that dries, seal the clay with mod podge. Then insert a toothpick into the base to create a plant stick.
Glue the mushroom caps onto the stems. Let everything dry fully, and then place the mushrooms into a flour pot.
These clay mushrooms are seriously so adorable. They are way easier to create than they look and you can’t kill them like a real plant, so it’s a win/win! This easy craft is a great way to add a spot of whimsy to your garden!
Need Craft Supplies?


Polymer Clay Mushrooms
Materials
- medium rolling pin
- parchment paper
- baking sheet
- polymer clay
- clay cutting and piercing tools
- sharpie
- glue
- white paint
- mod podge
- paintbrush
Instructions
- Roll the brown clay into balls about 1½ thick. Press and roll into a flat circular shape.
- Roll the tan clay into ¼ inch balls, press onto the flat circle. Press the flat circles into mushroom cap shapes using a forming tool.
- Roll tan clay into two, 1¼ inch balls. Form into long cylindrical shapes that are tapered at the top. Roll tiny black balls for eyes.
- Bake the clay as directed in the oven. Once the clay has cooled, sketch a smile onto the stems using a fine tipped sharpie. Glue black balls onto it for eyes. Paint white dots onto the eyes.
- Seal with modge podge.